


|
Location: In an English country cowpat
Joined: Jul 2009
Posts: 2,810

|

07-09-2012, 11:27 PM
First steps with the Lumix FZ48 bridge camera
Arrived todayHad to wait 2.5 hrs for the battery to charge up, but here is the very first photo I took:
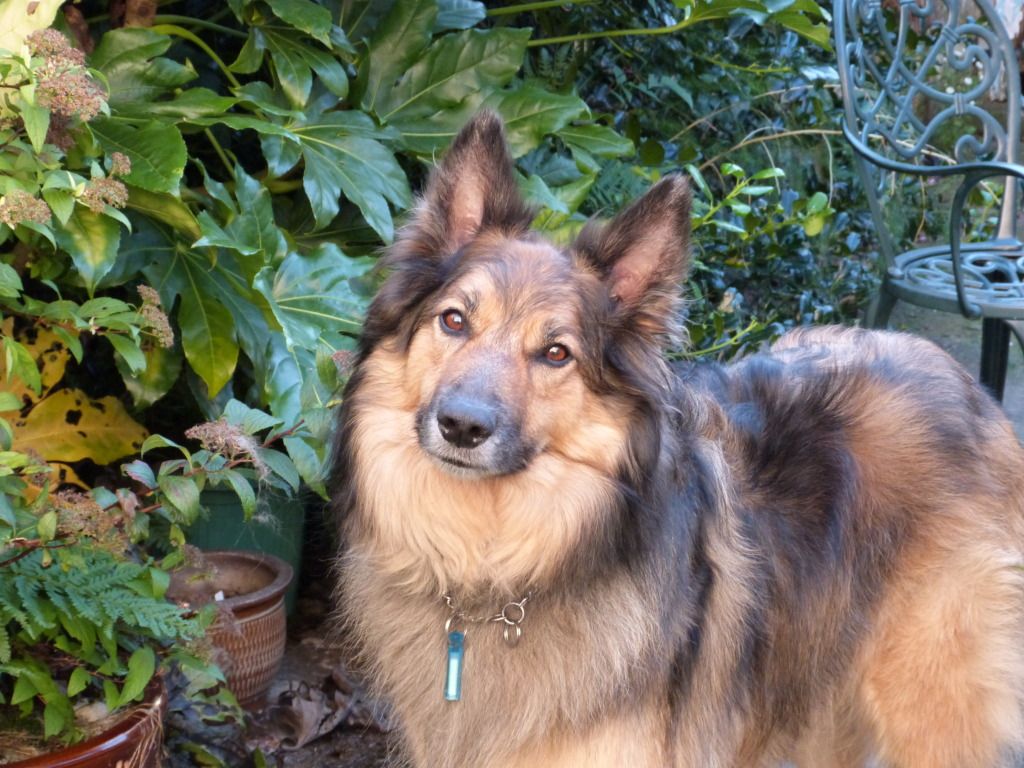
I didn't mess about with the settings, just selected A on the top dial which I assumed was Auto. One thing I noticed straight away is there is a small thumb-dial which will alter exposure, and the 'results' of that adjustment appear in the (large) screen.
Second pic - again no fiddling:
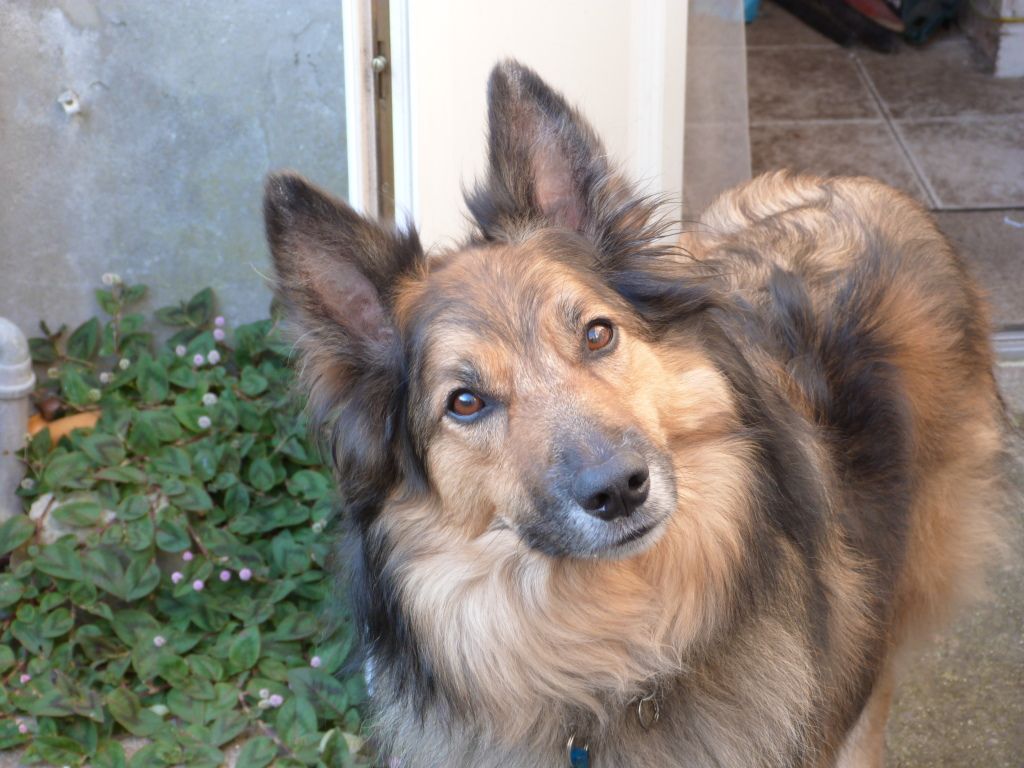
I took a few more later after going through the settings but they weren't much cop - TBH I didn't know what half the settings were
When it got dark I tried out the flash indoors and got sharp but over-exposed pics, so some practice needed there. However, when I had 35mm SLR cameras I didn't have a flash, so I learned to make use of available light, and still prefer to. With my Nikon point & shoot, I found the fill-in flash better than the full flash in most cases, and so there is a lot I can try with this one.
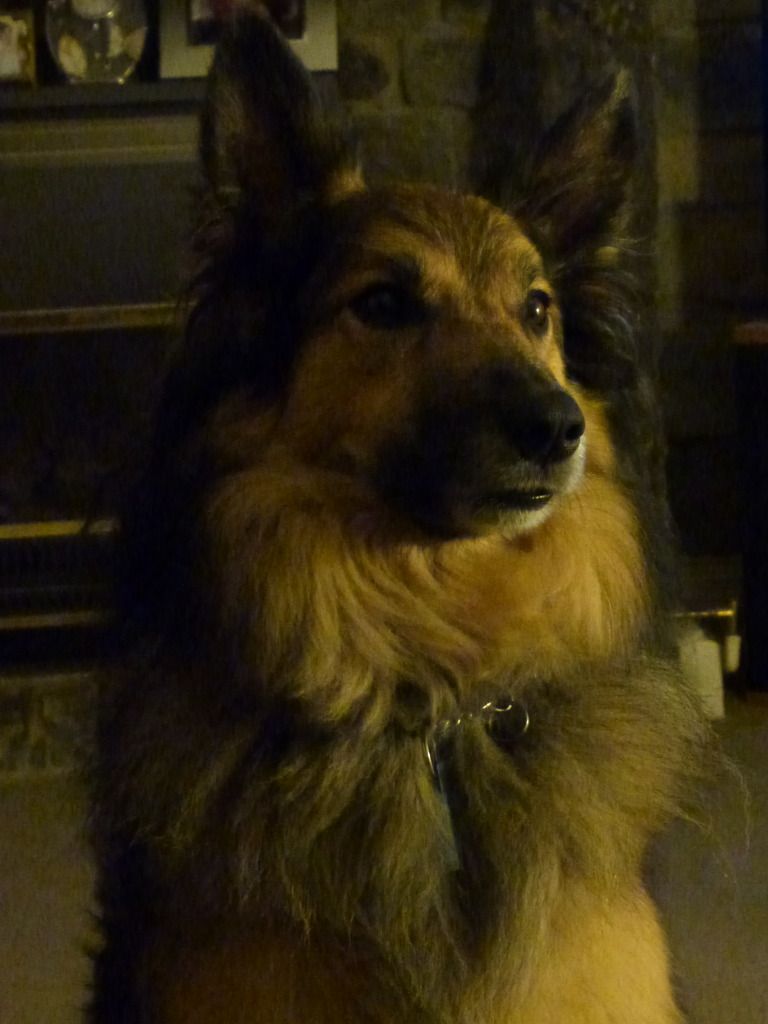
I then found the Intelligent Auto Focus setting, and tried some without flash - got this one -
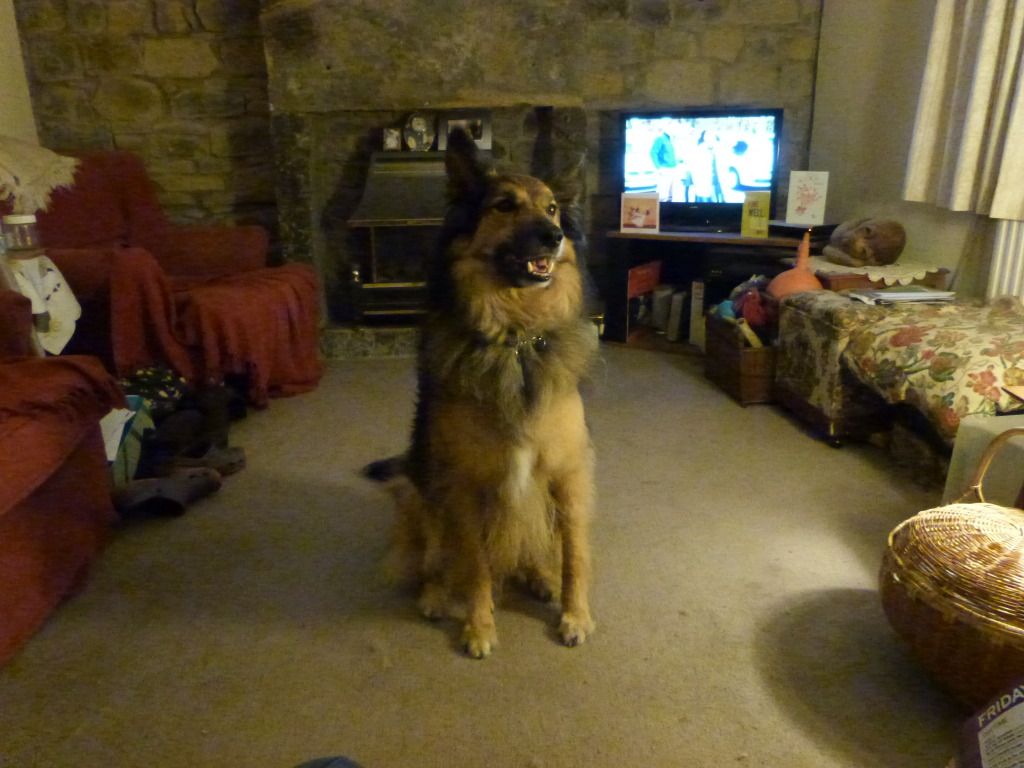
and this one with zoom
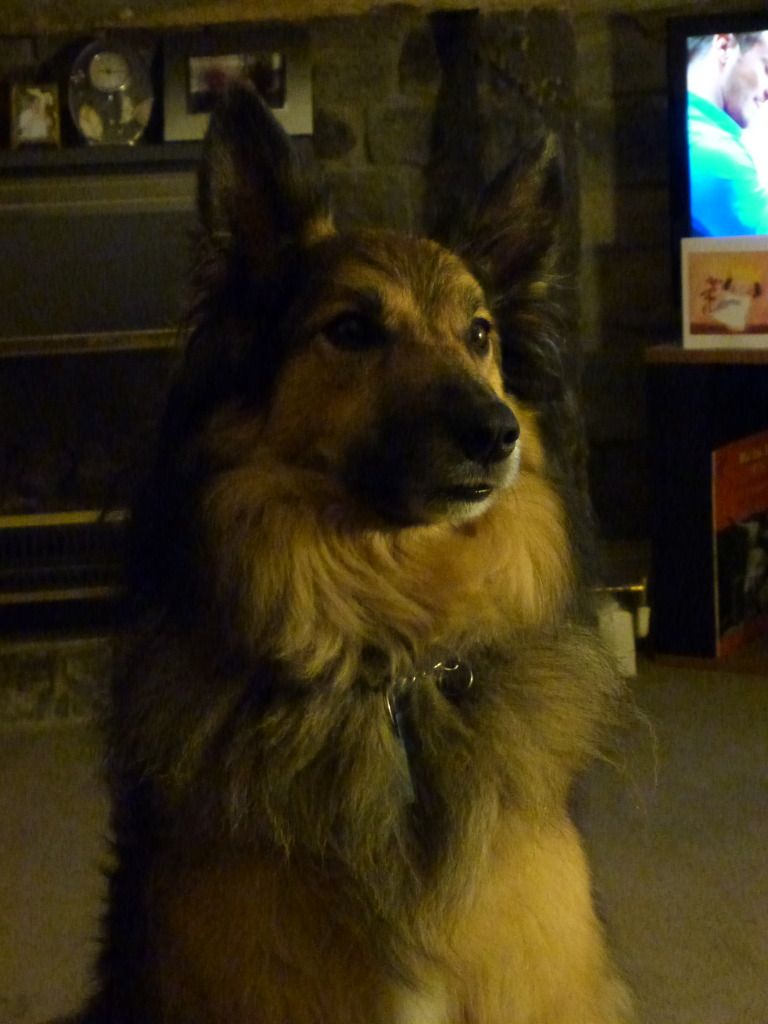
I like it, it's grainy but it reminds me of the old 400 ASA film I used years ago. There is a lot of room - and settings - to improve on that.
I used the camera's own cropping feature to get to this:
They are heavy pics at the moment, file-size wise, but the camera has a generous in-built memory and I also had a 4BG SDHC card handy
Lots to play with, but thought I would share. I think I'm going to enjoy what this camera has to offer - many many thanks to Taffsmum for suggesting it

|


|
|
Location: In an English country cowpat
Joined: Jul 2009
Posts: 2,810
|
08-09-2012, 10:32 PM

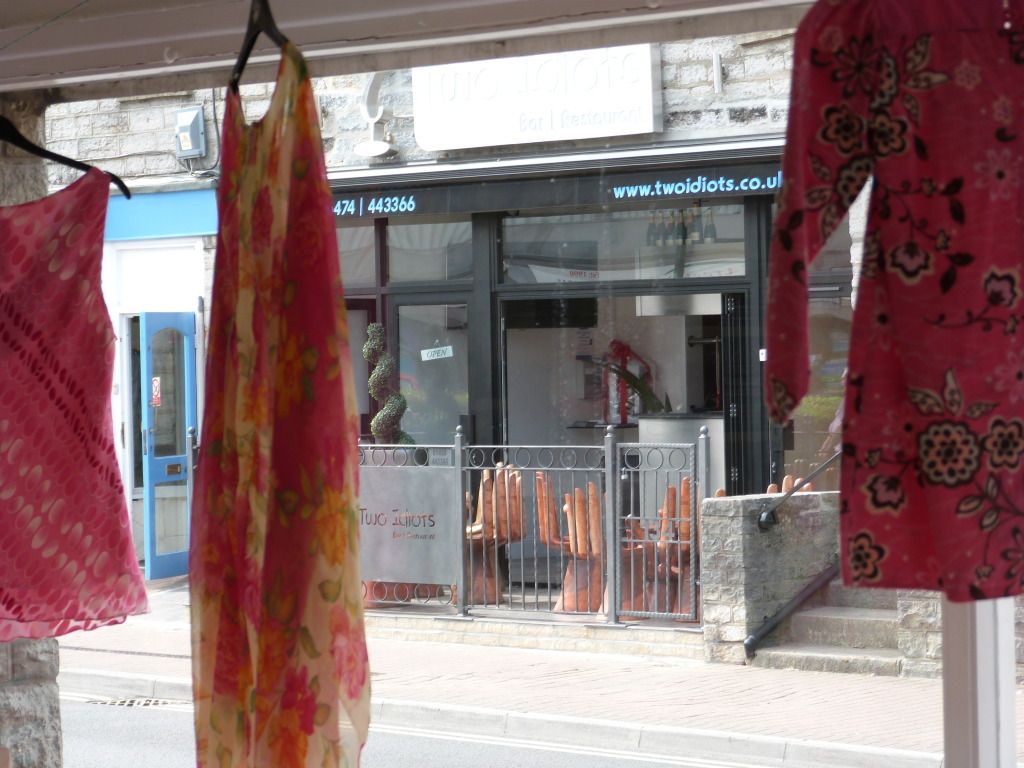
This is the only other pic I took today - called into a shop where a friend works to show him as he's into cameras, and he wanted to see what it could do (I think he's got a crush one of the waiters in the restaurant across the road
Hopefully tomorrow afternoon I'll be taking it along to a local Open Heritage thingy, where some houses in a nearby street will be open for visitors to see (beautiful Art & Crafts era Grade 3 listed workers terraced cottages) and also the Shoe Museum is open, if I can drag Mum along. So that will provide some interesting photo opportunities to see what it can do
|
|
 |
«
Previous Thread
|
Next Thread
»
| Currently Active Users Viewing This Thread: 1 (0 members and 1 guests) | |
|
|
 Similar Threads
|
||||
| Thread | Thread Starter | Forum | Replies | Last Post |
| Help me choose a bridge camera? | MerlinsMum | Technology | 9 | 06-09-2012 09:22 PM |
| Can anyone recommend a decent insurance policy for a bridge camera? | SmokeyRabbit | Technology | 3 | 09-05-2012 12:30 AM |
| Is a bridge camera easy to use? | jenstina | Off-topic Chat | 9 | 06-03-2012 02:47 PM |
| Fuji S2750 12MP bridge camera | lozzibear | Technology | 3 | 17-03-2011 11:06 AM |
| Panasonic Lumix® DMC-FZ5 Digital Camera for sale. | Borderdawn | Your Adverts | 0 | 30-04-2007 09:40 AM |